How to Make a Bead
In this post, I will introduce a very basic method of making a simple round or donut shaped glass bead. A nicely shaped round bead is the very first technique a beginner lampworker needs to learn. It may look simple, but it is deceptively so. You will need to learn to control glass in and out of the flame to make it nice and donut round.
Safety and Disclaimer
Lampworking is dangerous! It involves manipulating very hot glass with an open flame. There are very real risks of fire. Please refer to my "Lampworking Safety" post for safety precautions and details. You resume all responsibility for your own safety! Do not lampwork without understanding all of the risks.
How to Make a Bead
Here's a step-by-step guide to a very simple round bead with no embellishments or patterns:
Preparations: Coat your mandrels with bead release the night before. I dip my mandrels so that about 4-5 inches on the end is coated. Some people like dipping mandrels in the middle so you can hold it with both hands. It is personal preference.
The bead release that I use is Fusion Bead Release. It is very very strong. I've never had a bead break the bead release while I am working on it, even when using bead presses and molds. It's even a little too strong, since it requires some force to get the beads off the mandrel after annealing.
Some bead releases are flame dry, so you can dip them and dry them in the torch flame as you need them. I always air dry mine, so I dip mandrels the night before.
It is a good idea to invest in good bead release from the start. It's a cheap thing, and will save you from lots of frustration. I previously had a cheapo bead release that came with my hothead kit, and I was constantly frustrated from beads breaking the release off the mandrel when I did so much as poke a plunged dot! I'd end up with a half made bead spinning on the mandrel, dangerously close to sliding down to my hand! Just get good bead release - you'll thank me!
Turn on torch. If you have a hothead, turn on your fuel and light the flame. If you run on propane/oxygen, remember POOP!
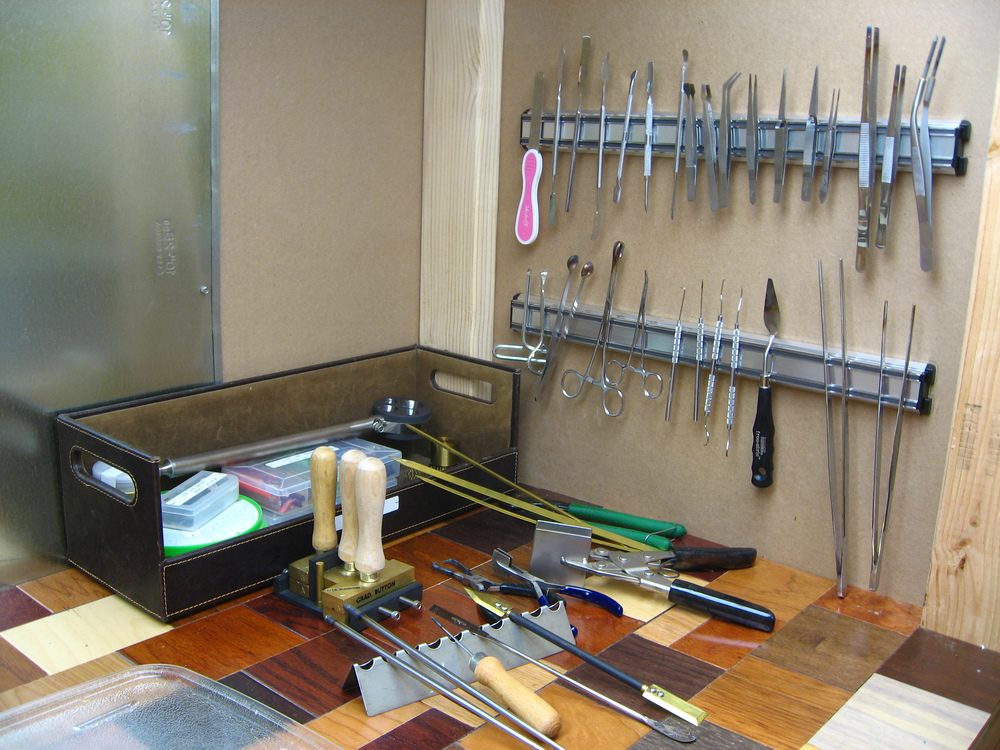
Assemble all of your glass and tools, and put them in an easily accessible location on your bench. You don't have a lot of time to be searching for tools when you have a hot bead on a mandrel in one hand, so it's best to have everything organized and ready to go before you start.
Step 1: Heat the glass rod. To do this safely, you have to move the rod in and out of the flame so it heats slowly. Also twirl the rod so gravity plays on it equally, never letting the end droop too far.
If you stick the rod in the flame too quickly, the glass rod is prone to shatter. Tip: start heating the glass rod by putting it in the very top of your flame where the fire is coolest. Then slowly bring the rod closer to the widest part of the flame. I usually work in the flame area about 3-4 inches from the torch. You should see the glass rod start to ball up as it melts. Don't let it get so hot that it melts.
Step 2:As the glass gets hot, start heating the coated mandrel as well. It should heat to an orange glow.
I am right handed, so at this point I usually have the glass rod in my right hand, and the coated mandrel in my left hand. Head up the bead release on the mandrel until it glows. This will allow glass to stick to the bead release. If your mandrel is not hot enough, your glass will not catch. Just heat it up a little more.
Step 3: As the glass becomes molten, start winding it around the heated mandrel. The glass and the mandrel should be in the flame as you do this.
I still have the glass in my right hand, mandrel in my left. I usually wind the glass a few times completely, until I get a size that I want.
Step 4: When the bead is the size you want, start pulling the glass rod away from the mandrel, continuing to rotate the mandrel the whole time. The glass will get thinner and thinner, and eventually break, a technique known as flame-cutting.
Rotate the bead on the mandrel around, and let gravity shape it. I rely on gravity to shape my beads quite a lot. I believe that you should never start using tools until you can consistently make good symmetrical beads using only fire and gravity.
Heat the bead in the flame to get it soft and movable, but not dripping! Take the bead out of the flame and rotate it along the axis of the mandrel, allowing gravity to shape it as it cools. Reintroduce the bead to the flame and repeat this step until the bead is nice and round. It is important to shape the bead outside of the flame when you are a beginner, until you learn flame characteristics. It is too easy for a beginner to heat their bead too hot, and have it drip off the mandrel into the bench. However, you must also be aware not to keep it outside the flame for too long, since if the bead gets too cold, it will crack! You want to keep the bead at the "just right" temperature.
Step 5: Take the bead out of the center of the flame to its cooler edge. Continue rotating the glass. This process is called flame annealing -- it makes sure the glass' temperature doesn't drop too quickly, which can cause it to break.
There is some controversy over whether "flame annealing" is really "annealing". It is definitely not good enough to "flame anneal" your beads without going into a real annealing cycle in the kiln. But it is better than nothing, especially if a beginner does not own a kiln.
That said, I will still typically flash my beads in the flame just before I put them in the kiln to garage. Just don't think that "flame annealing" will get you off the hook for buying a real kiln. It won't. A percentage of your beads will still crack if not properly kiln annealed. For further discussion on the science of annealing, see my "Science of Glass" post.
Step 6: Further anneal the beads using either vermiculite or fiber blankets, and then eventually a kiln.
I sound like a broken record but - kiln anneal if you can, fiber blanket or vermiculite if you don't have a kiln. To anneal the beads, you just put the bead (still on the mandrel) into a kiln. Usually you leave one end of the mandrel poking out so you can still move the bead around to make room for other beads if necessary. Run your annealing protocol (see my recommended protocols here), then wait several hours for your beads to anneal and the temperature to be brought back down to room temp.
Step 7: Once the beads are at room temperature, soak them in a bowl of water that is also at room temperature. Then you can more easily remove the bead from the mandrel.
This step is optional, but soaking the bead release in water helps in easing the beads off of the mandrel, especially if you are using extra strong bead release like Fusion Bead Release. If you have any persistently stuck beads, I have found that using a simple riveter works really well to remove beads stuck on mandrels. I recommend this one.
Step 8: Use a bead hole reamer to clean out the hole.
Once you have removed the bead from the mandrel, you will still have some leftover bead release inside the hole of the bead. You want to clean this out before you use it for any jewelry purposes. You can buy a bead reamer to remove the bead release manually. However, I have found it is faster to use a long diamond coated reamer as a dremel insert. You can use the dremel to clean out beads much faster than doing it one by one by hand.
And voila! You have a bead! I hope this short tutorial is helpful for beginners interested in getting into lampworking! If you have any questions or comments, please reply in the comments section below! Thanks


